Difference between revisions of "How to make mods"
(→Types) |
|||
| Line 122: | Line 122: | ||
* Grader | * Grader | ||
* Crusher | * Crusher | ||
*Dumper | |||
=== Building object === | === Building object === | ||
Revision as of 10:44, 11 November 2021
Welcome to modding for Bergsbruk! our goal has been to make this as easy as possible to add your own stuff, but remember you can only make stuff you legaly have ALL rights to (And you cant sell mods). Good Luck!
Software
Required Software:
- Unreal Engine 4.27 Free to use with a creators license Link:https://www.unrealengine.com/en-US/eulacheck/creators
- Blender Free to use 3D modeling software Link: https://www.blender.org/download/
- Example Project Needed as a base for the mods Link: https://drive.google.com/file/d/1Yy_L_WdwqxzAxYoRbHfHny8U0FitVjGE/view?usp=sharing
Optional Software:
- Substance Painter Expensive texturing software Link: https://store.steampowered.com/app/1454900/Substance_3D_Painter_2021
Modeling
Modeling for Bergsbruk is the same as for most games, with 2k-400k polys is recommended as anything above 400K gets tough for lowend users.
Mods in Bergsbruk are "encrypted" (not open to edit like FS) that way only the person with the mod project files can make edits, that also makes most bought models "legal" to use.
Any 3D software that support FBX export can be used but we recommend Blender.
There are 2 Types of Meshes we use,
Static Meshes: Solid objects like Wheels, trackpads, Building objects lights etc, These do not need Rigging.
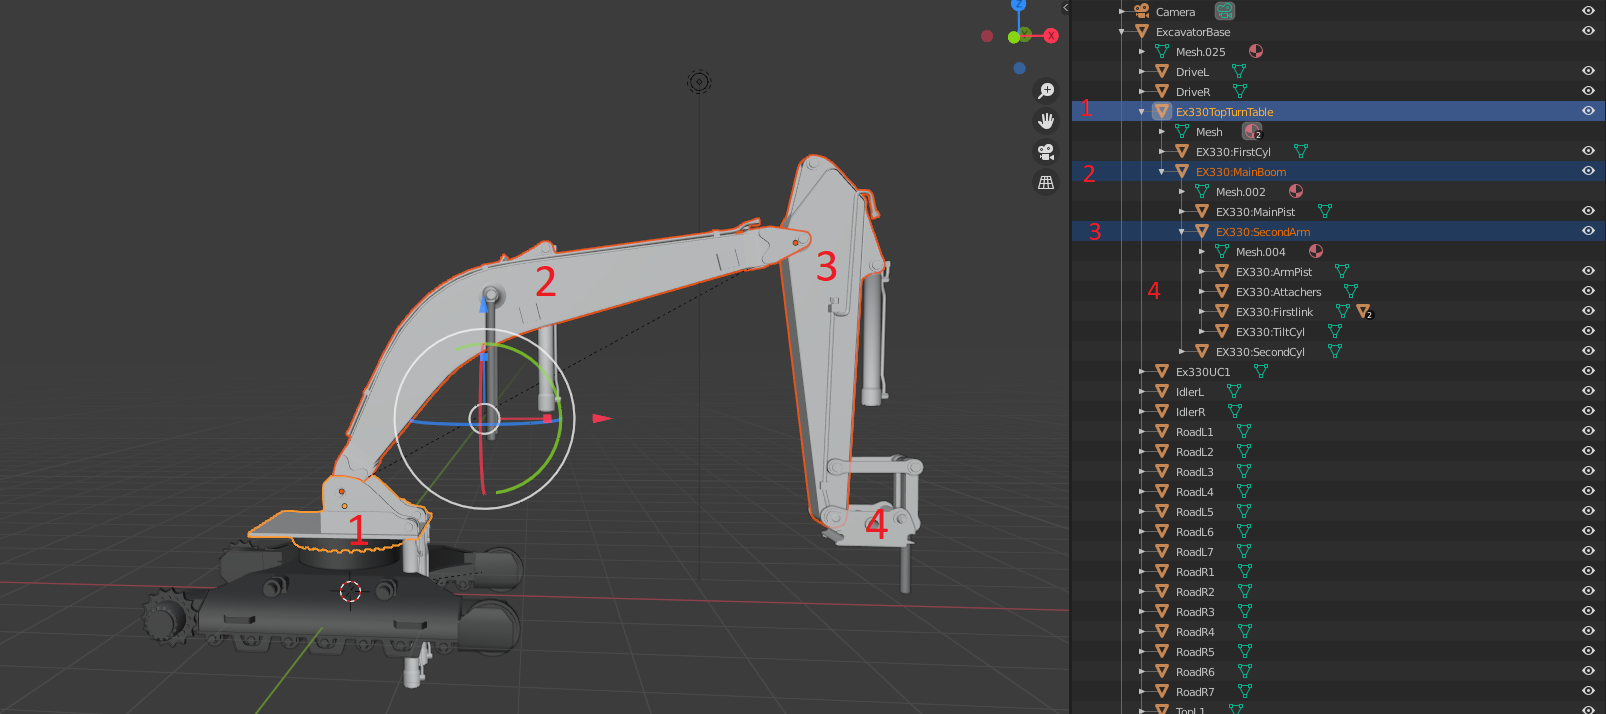
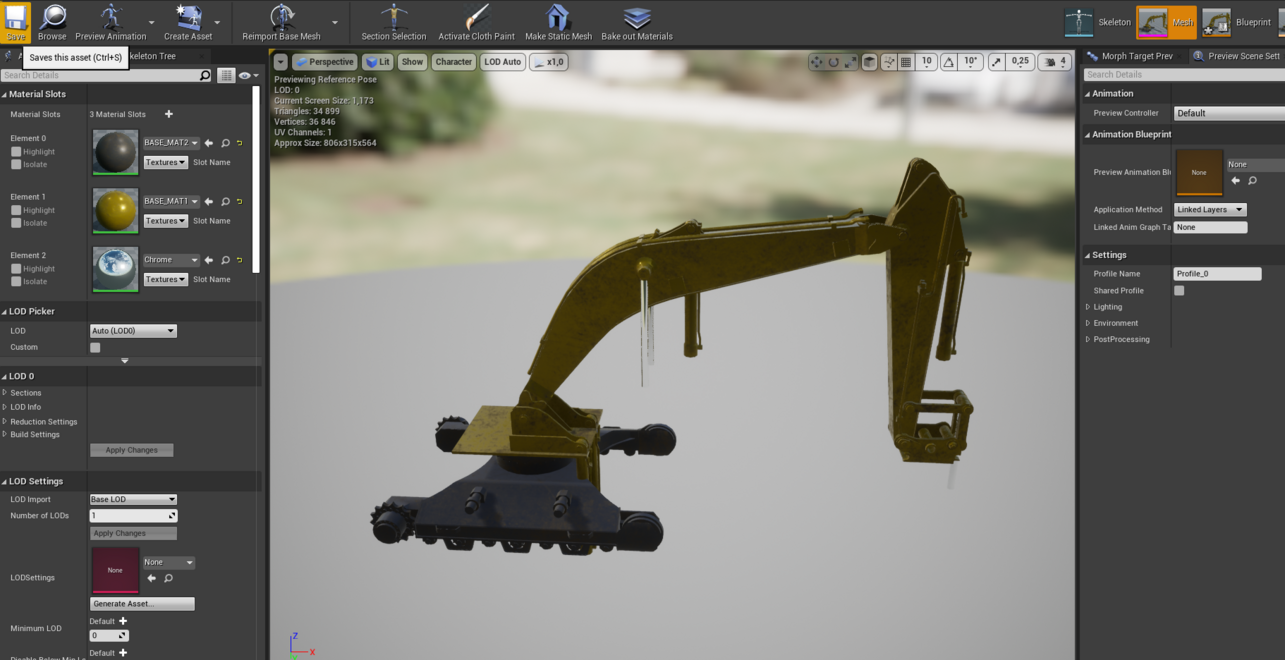
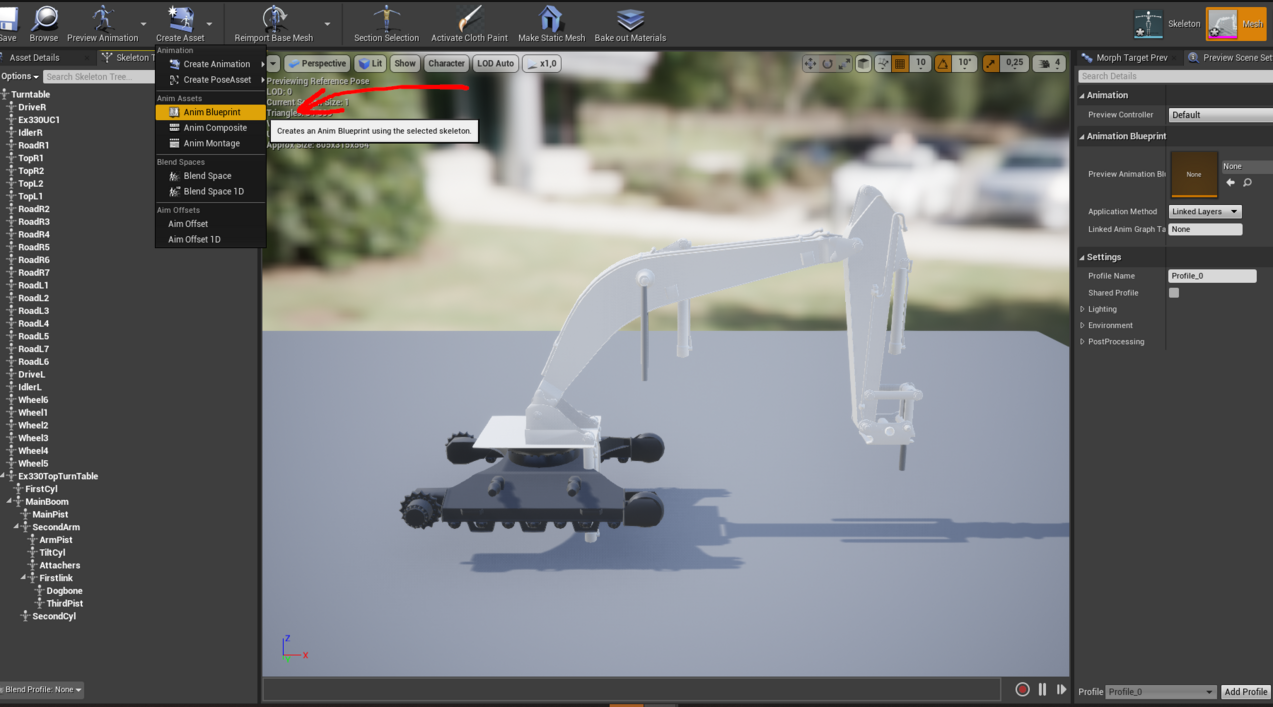
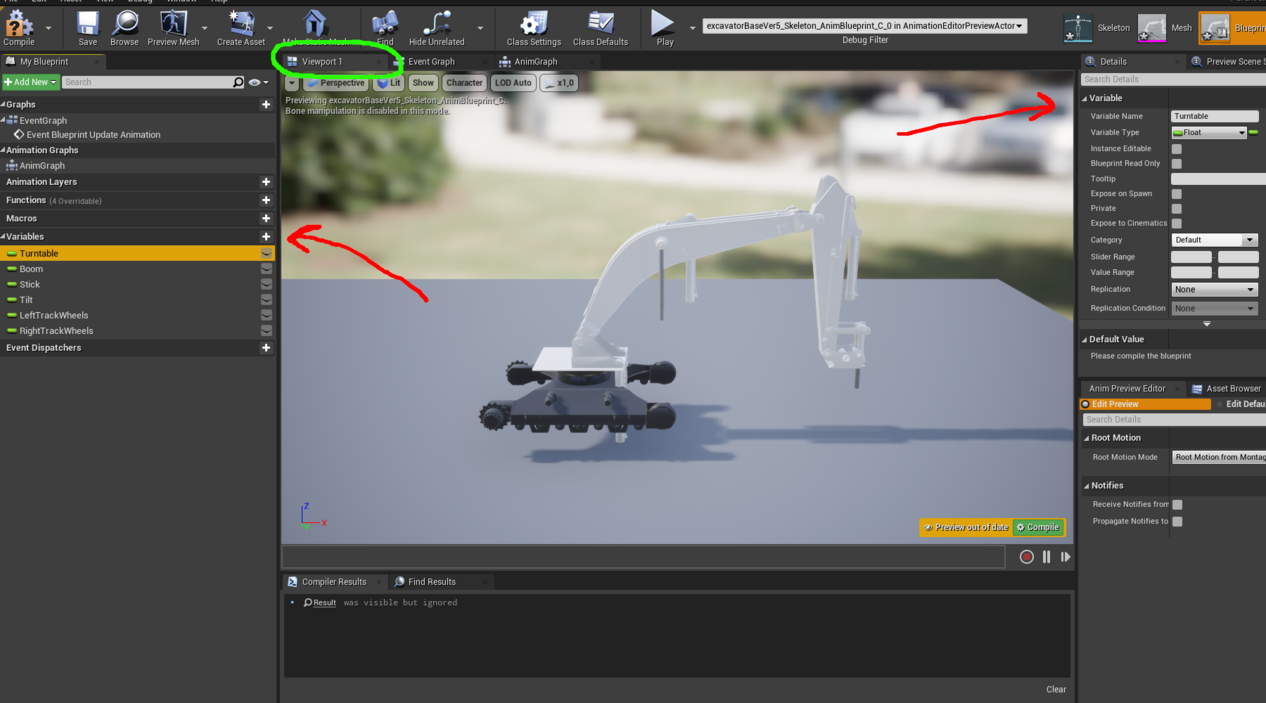
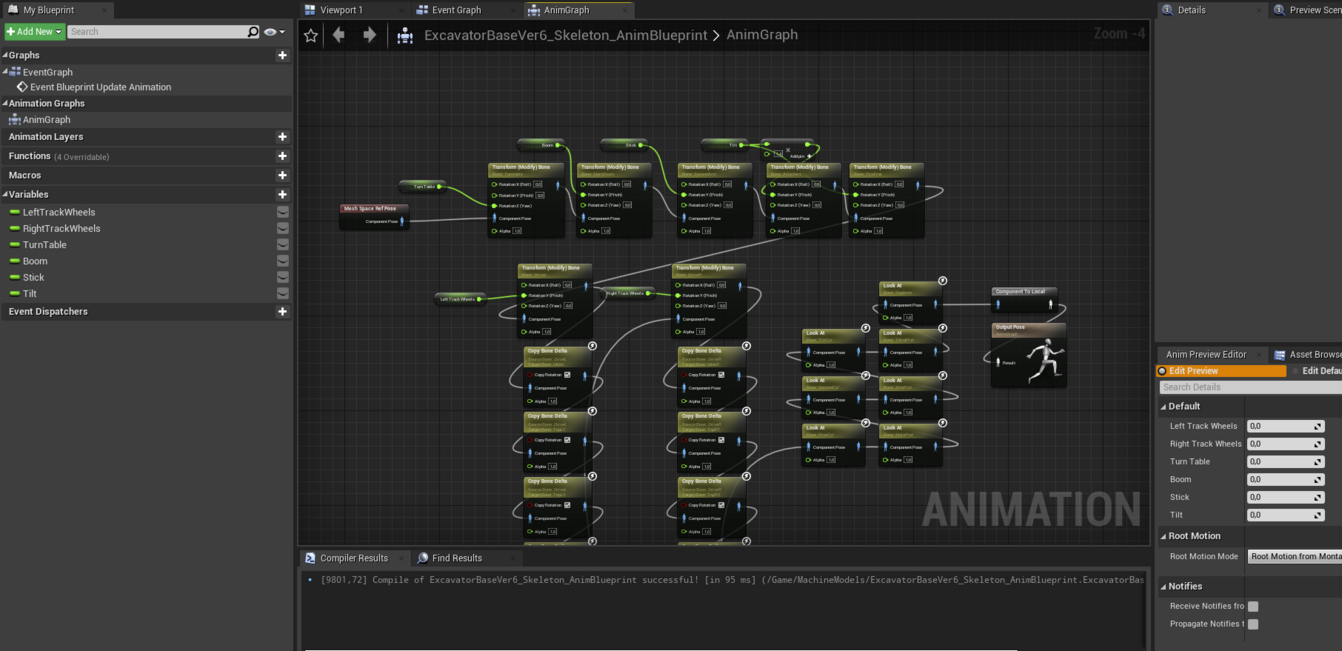
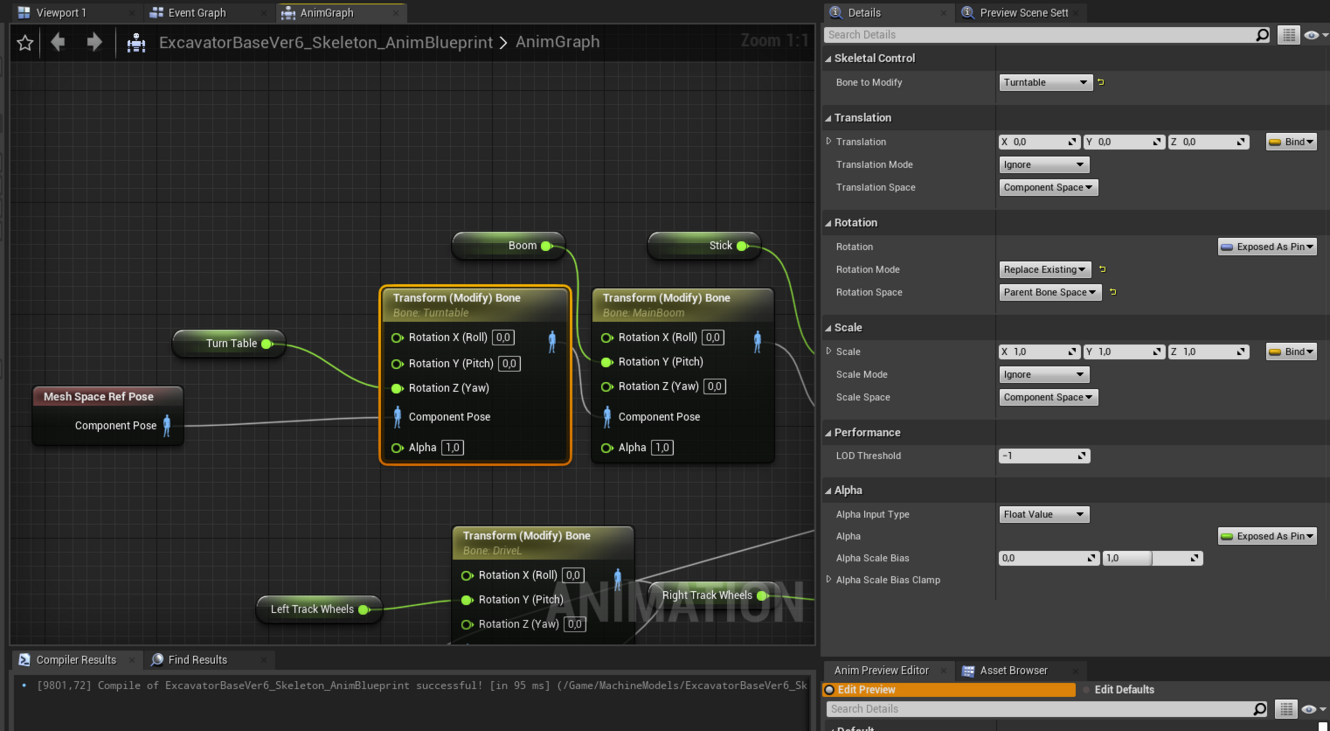
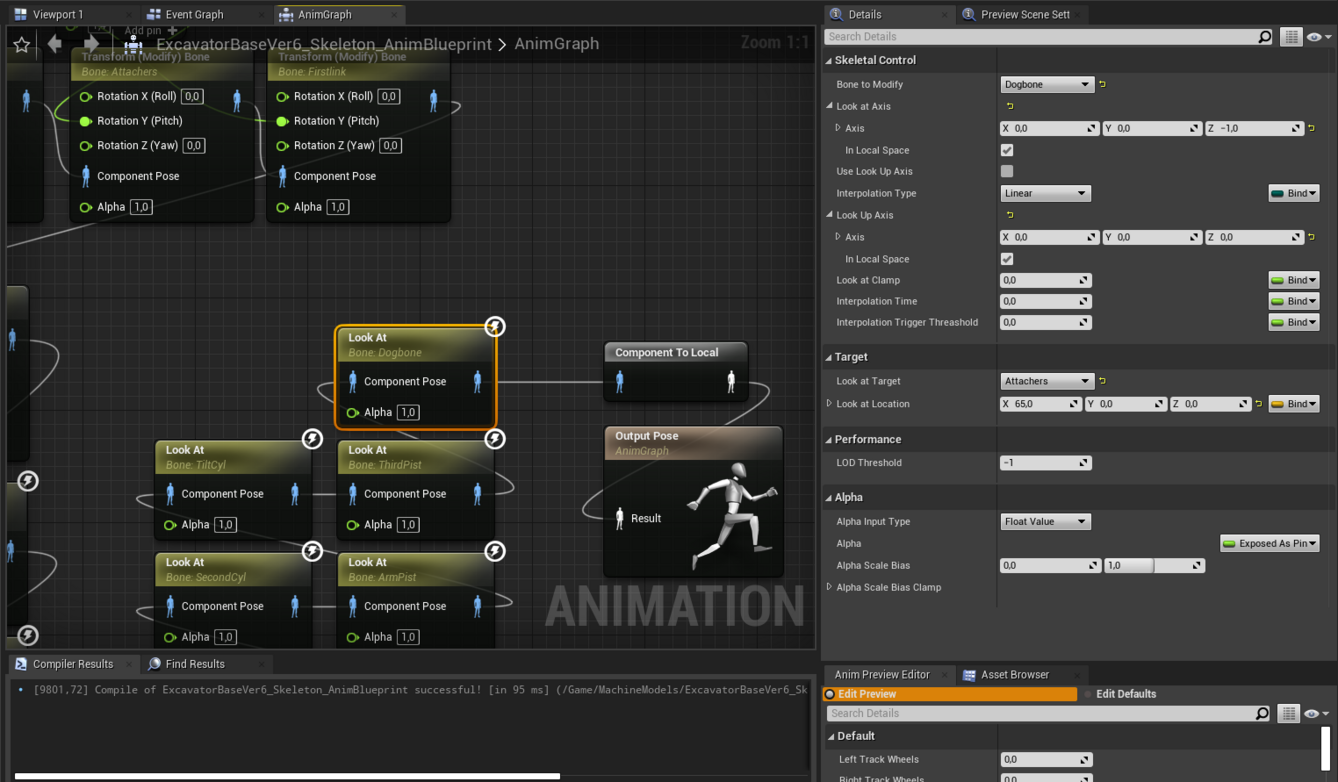
Skeletal Meshes: Moving objects like a vehicle with a Crane/Arm, or a tilting bucket etc, These need Rigging to work,
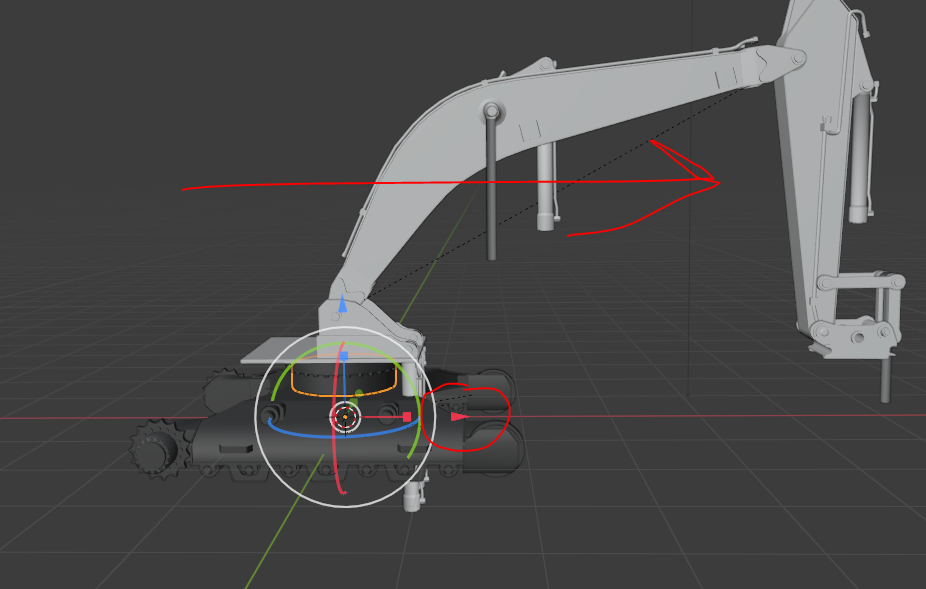
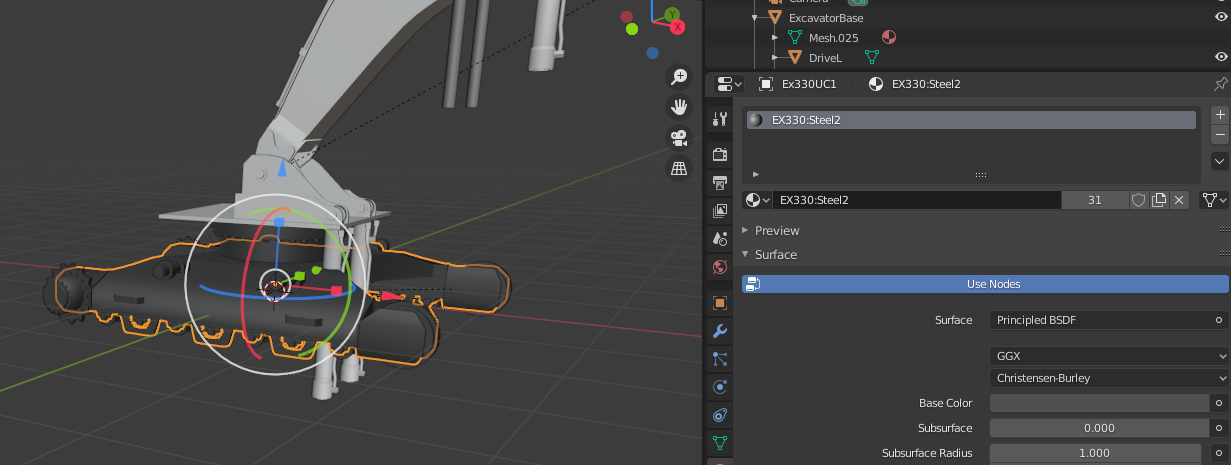
Vehicles are imported to Unreal without Wheels and Tracks, You only need to import one wheel (if all wheels are identical) or one Trackpad
Fillplanes & Cut Edge
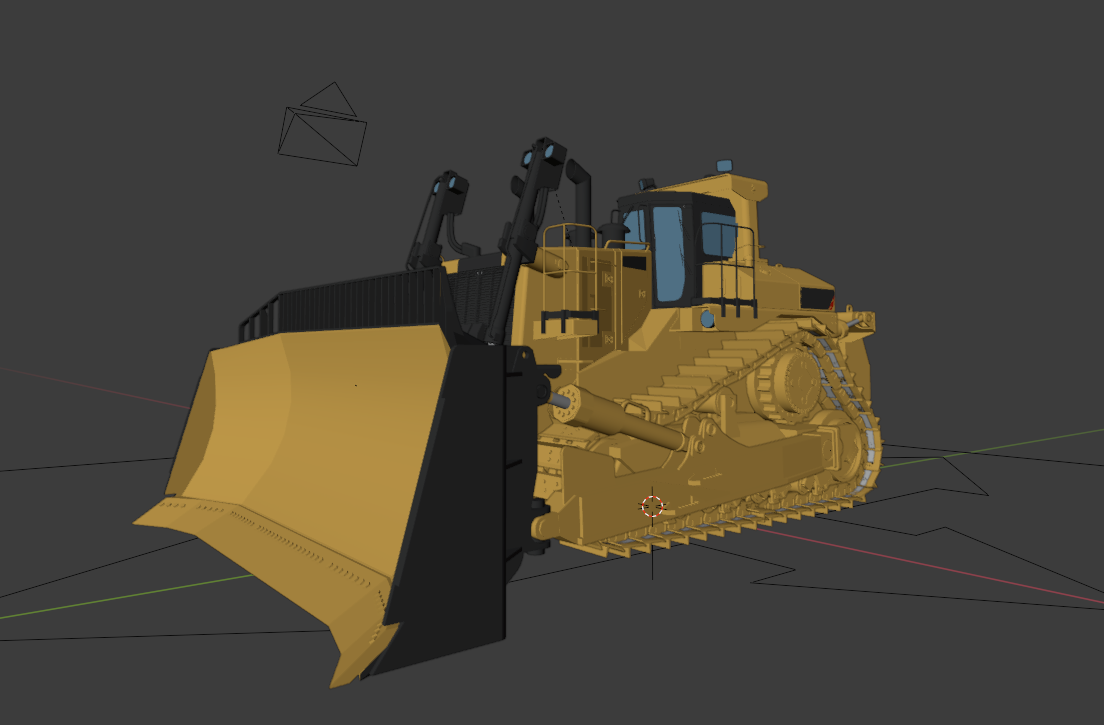
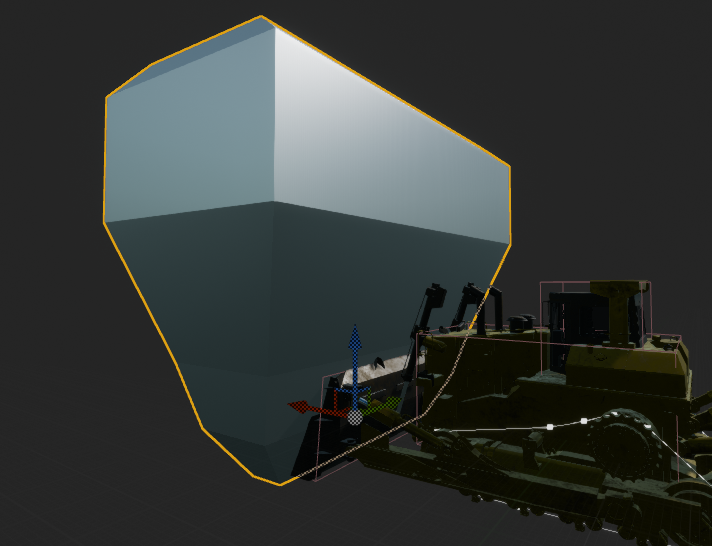
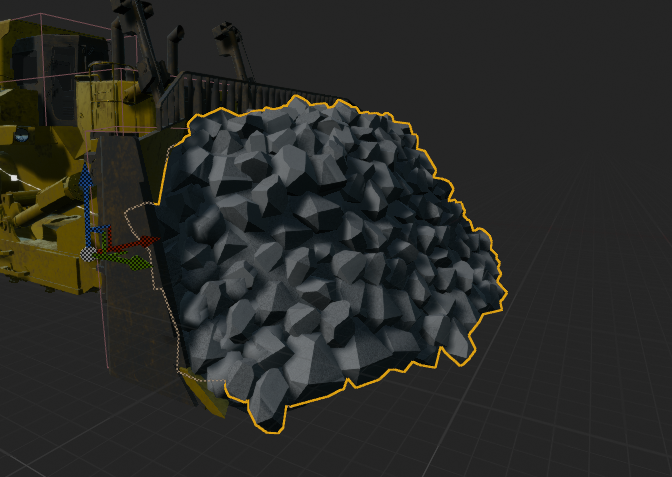
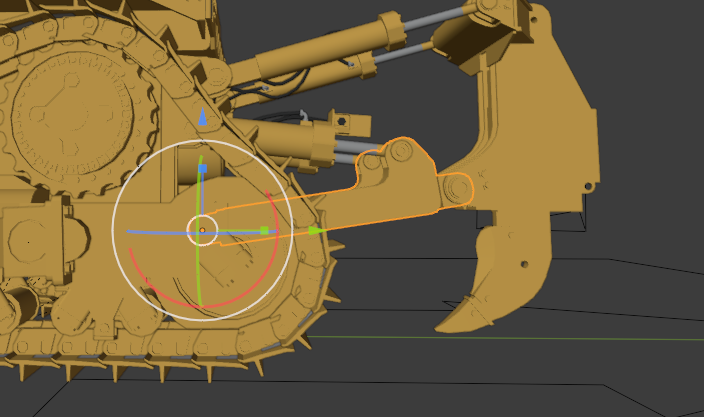
All dirt moving Machinery/Attachements need 8 Fillplanes that range from 0 to 100% full and a Dirt Cut Edge that looks like the one in the pic but match the bucket or blade.
Dumpers & Trucks and other stuff that transport dirt only need 8 Fillplanes that range from 0 to 100% full
Loaders & Excavators that only have attachers do not need Fillplanes or the Dirt Cut Edge
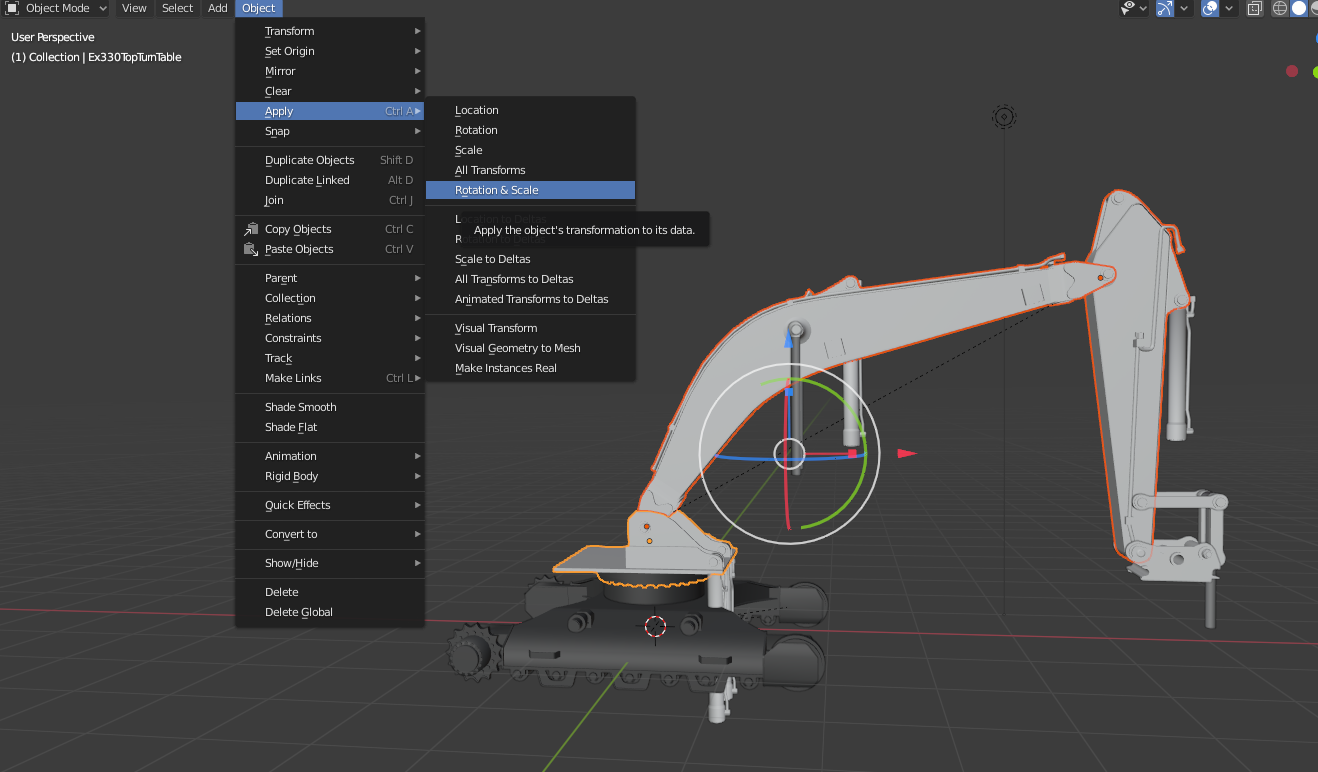
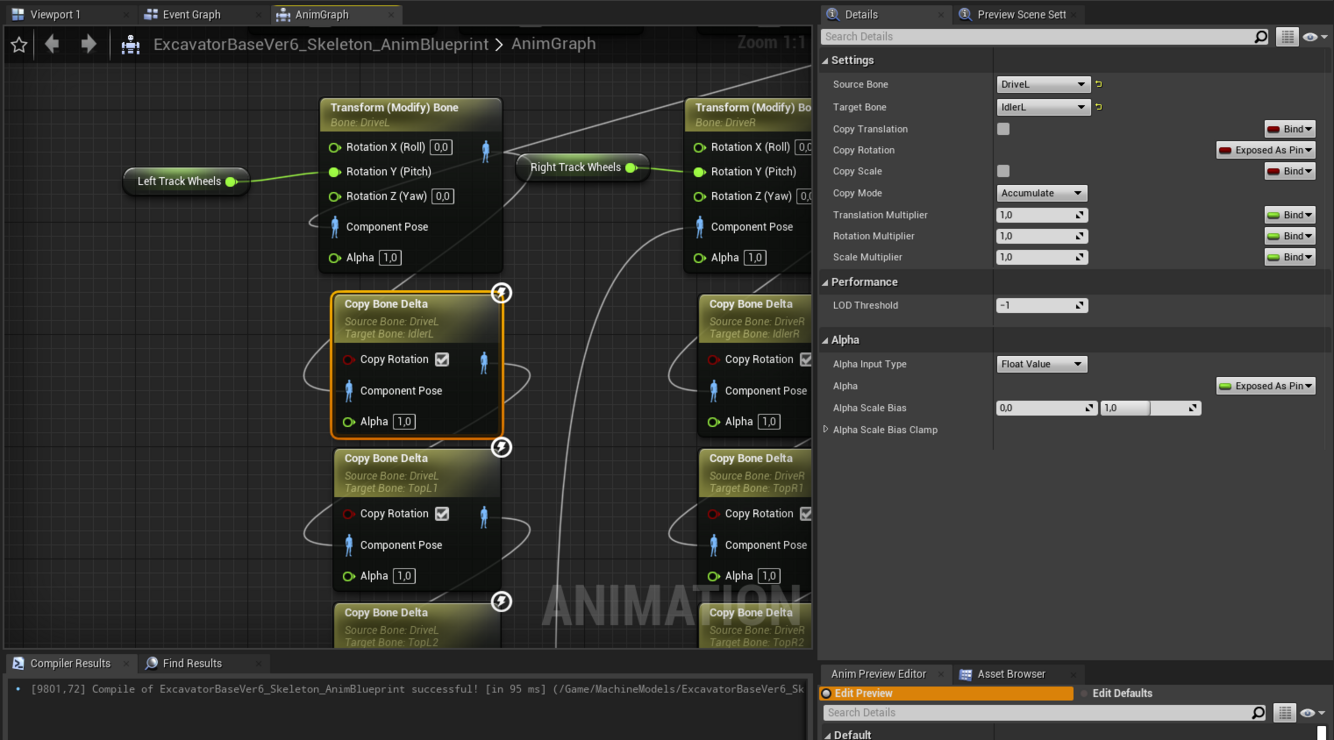
Rigging
Exporting
This is pretty simple, Export as Fbx to your texturing software, Bada bing bada booom almost done!
Texturing
Texturing for Bergsbruk is pretty simple, The UV mapping is the same boring thing it always been.
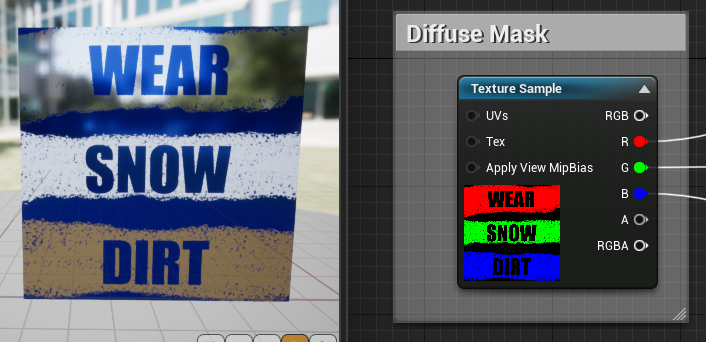
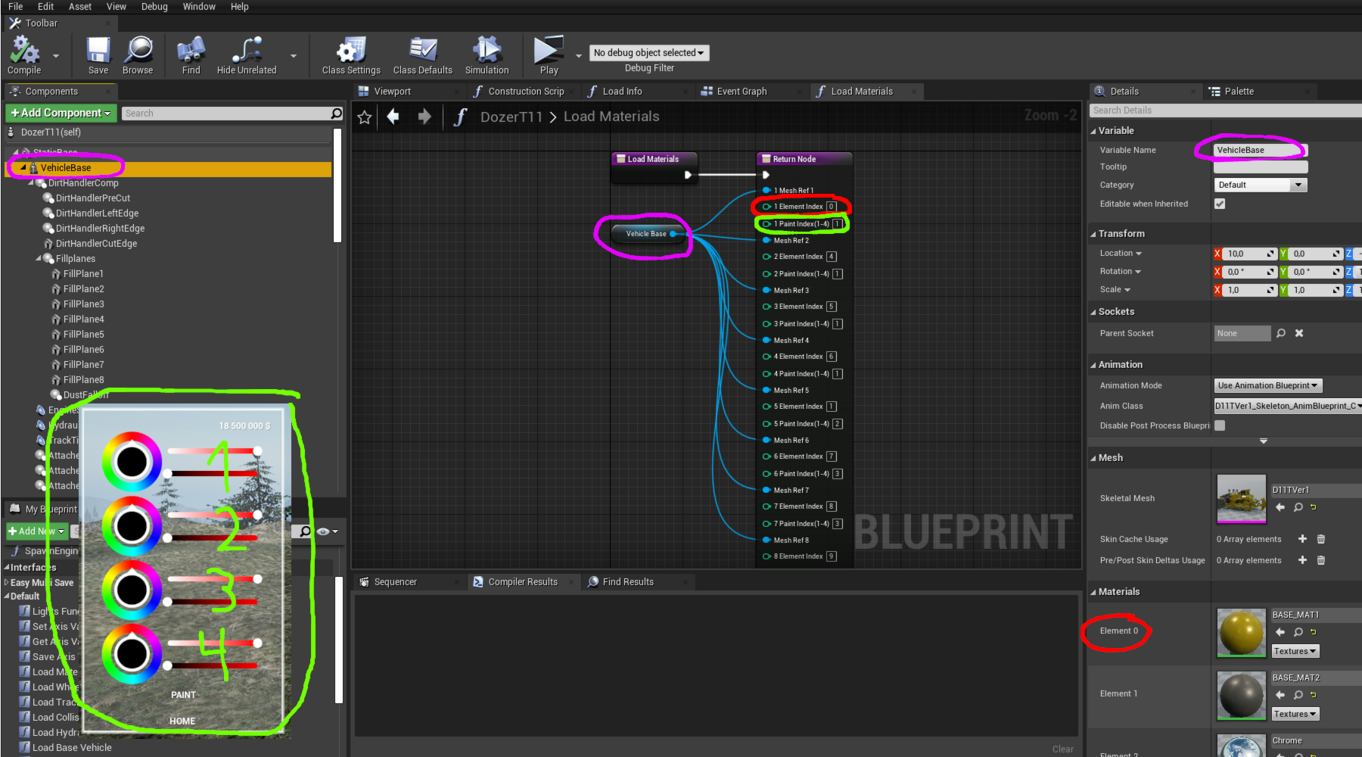
On the diffuse texture you only Paint Red for Wear, Green for Snow, Blue for Dirt, The machine/assets colour is in a diffrent place later on.
The diffuse needs to have a Solid Black background behind the Red Green Blue.
The Normal map and AO are made just like in any other game,
You can NOT use any Roughness or Metallic as this changes with Wear/Snow/Dirt
You can add wear to plastic and other stuff aswell, its editable later what the wear shows.
Do not use any textures over 2048x2048 as this will cause issues,
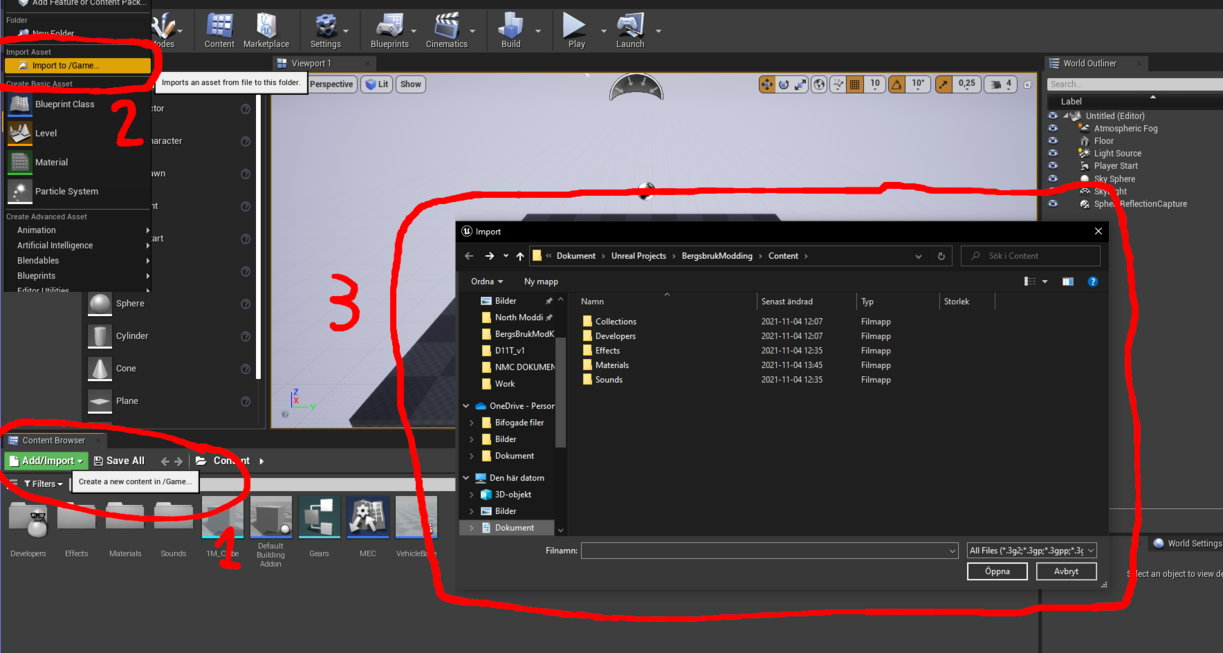
Importing to Unreal
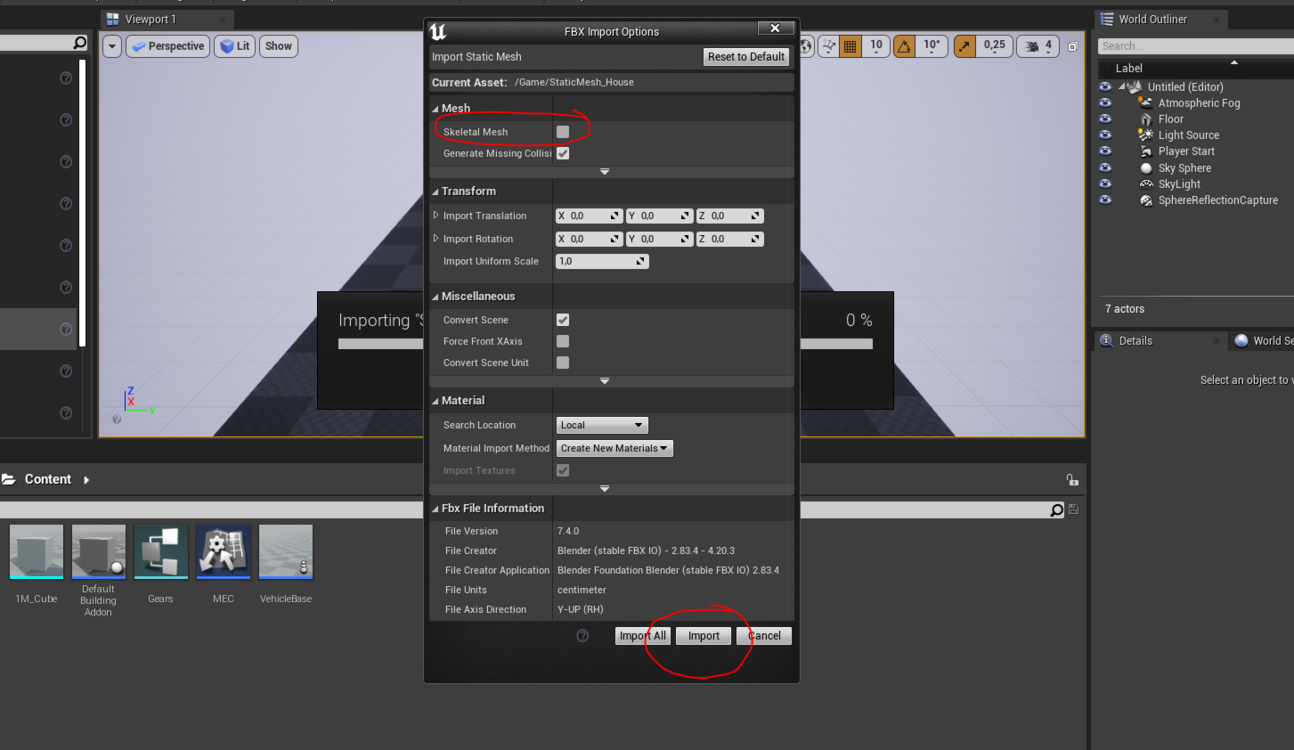
Static Mesh
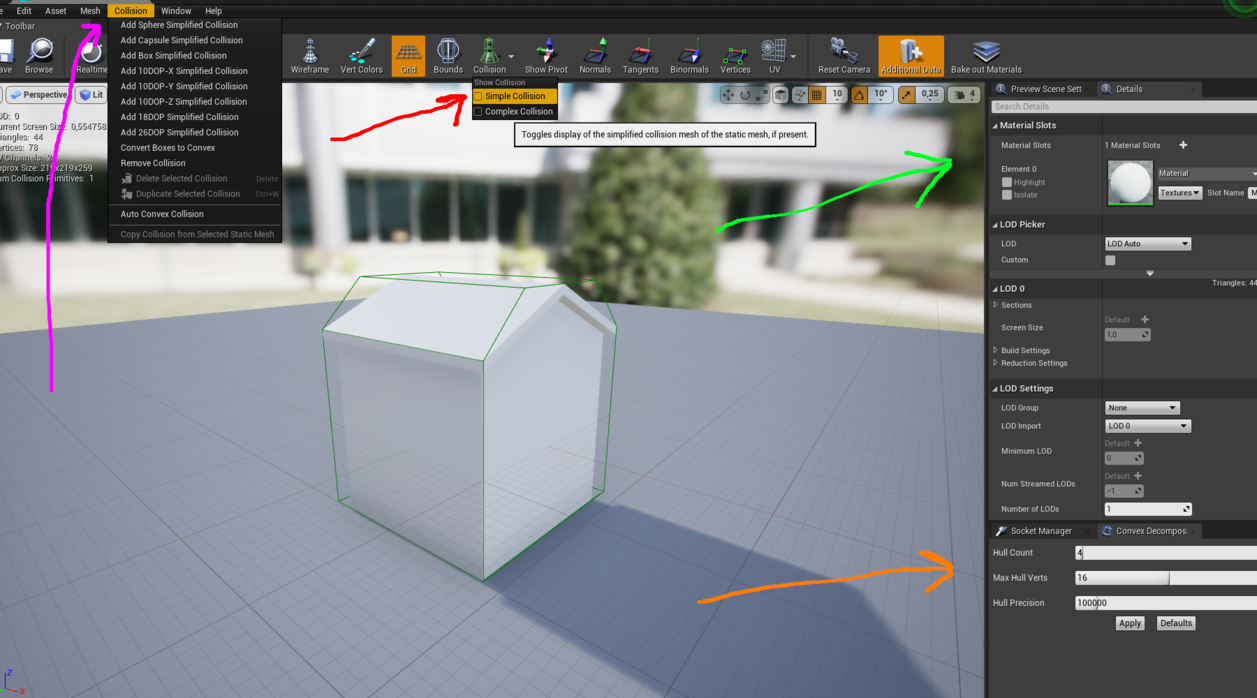
When importing wheels you want to use a Sphere Simplified Collision
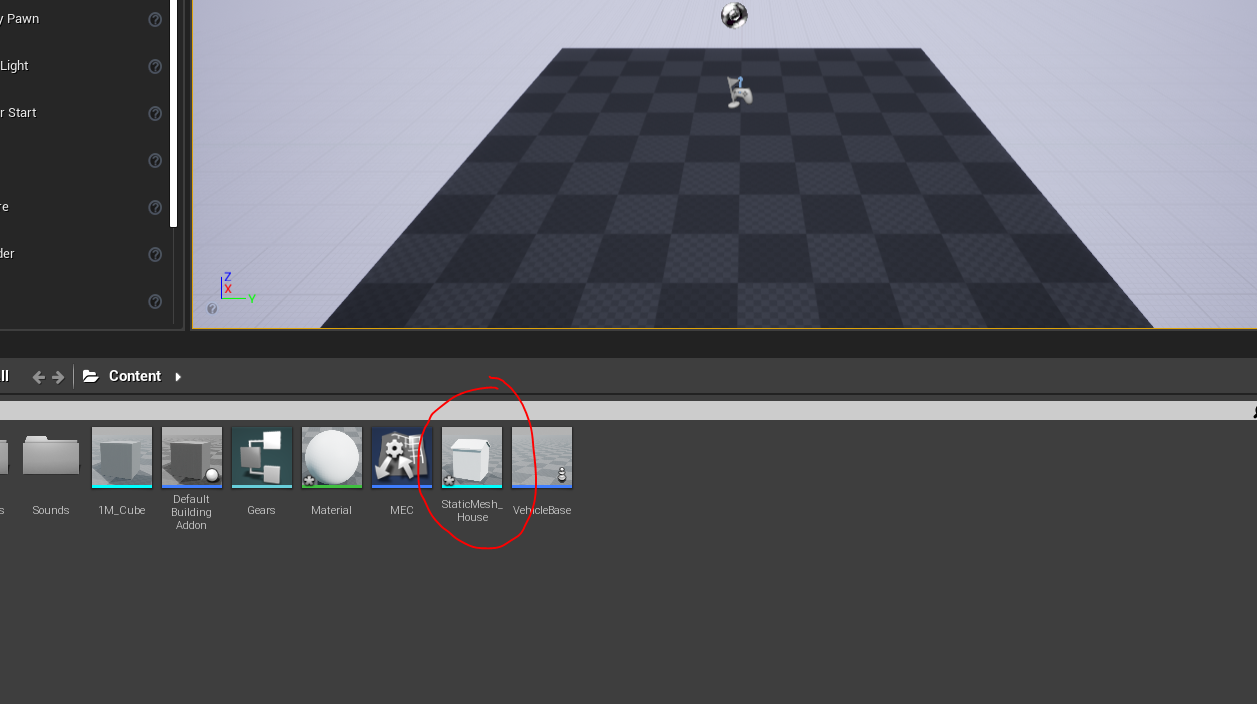
Save & Close & Done! Mesh is imported and ready to be used!
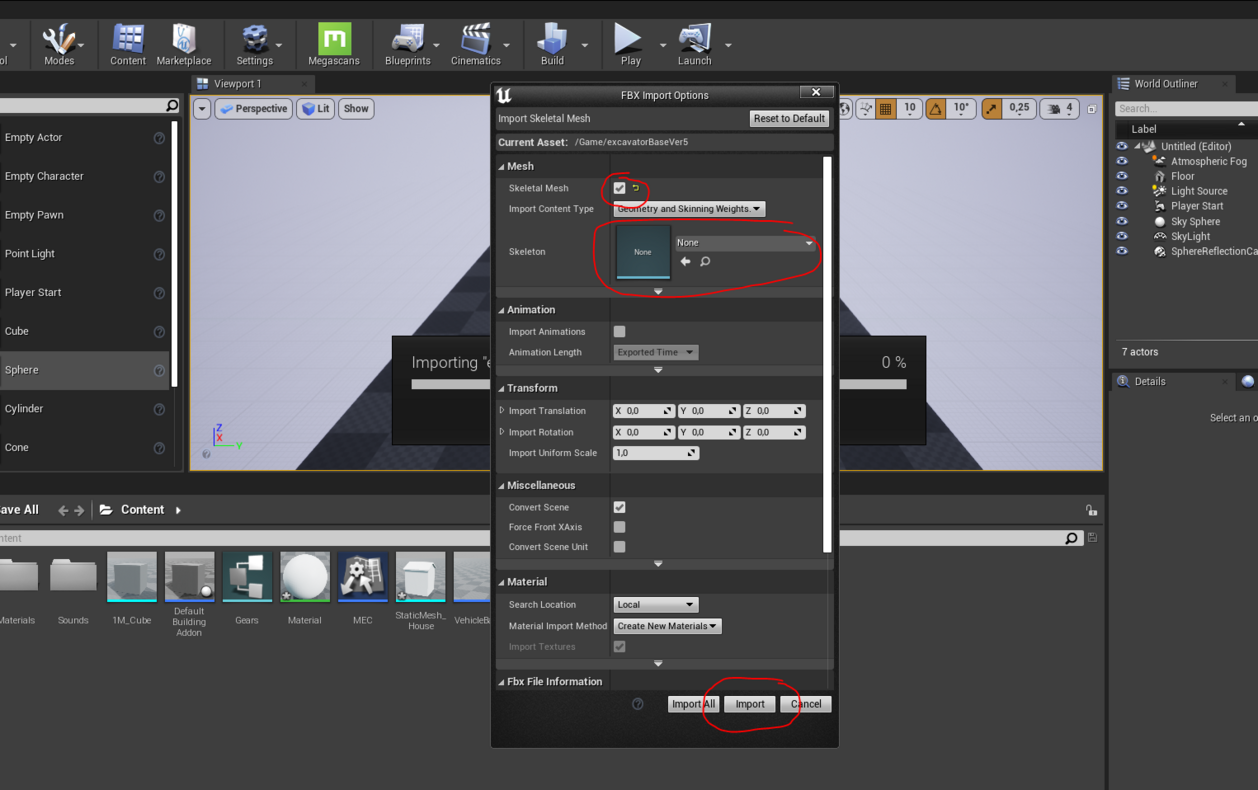
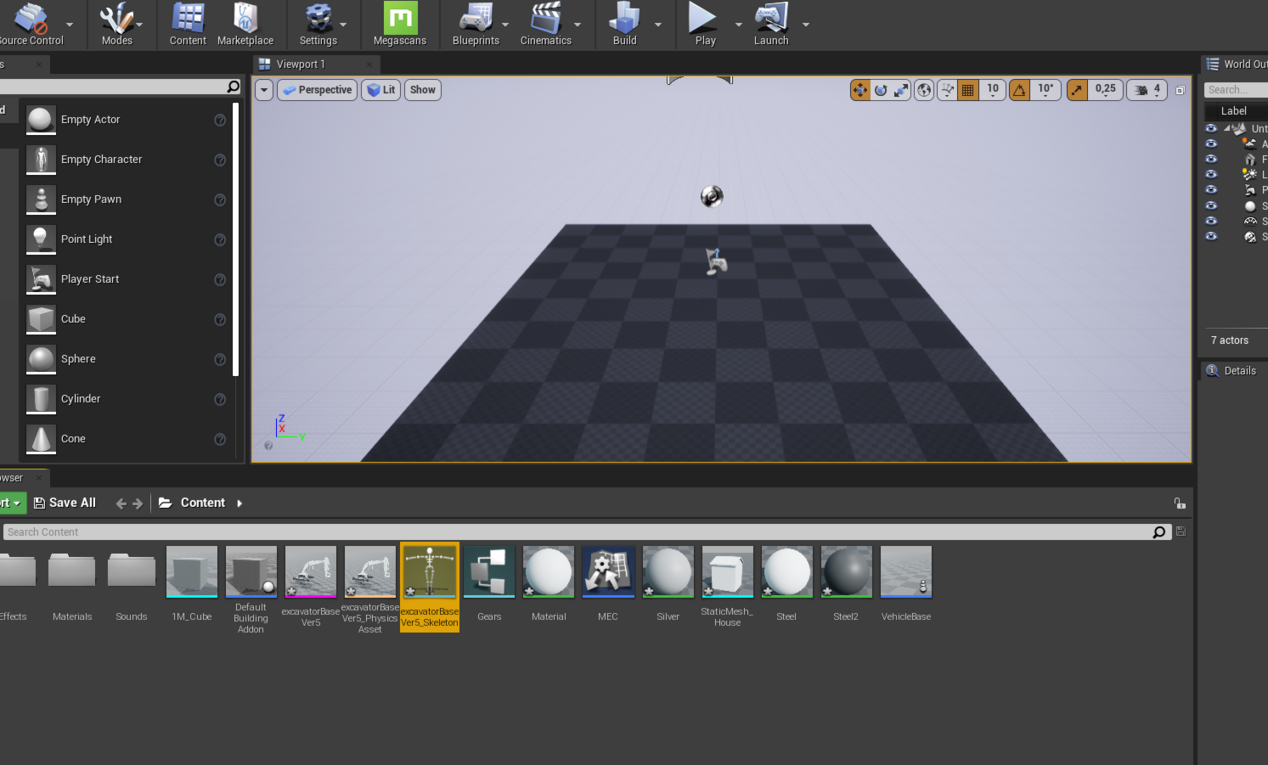
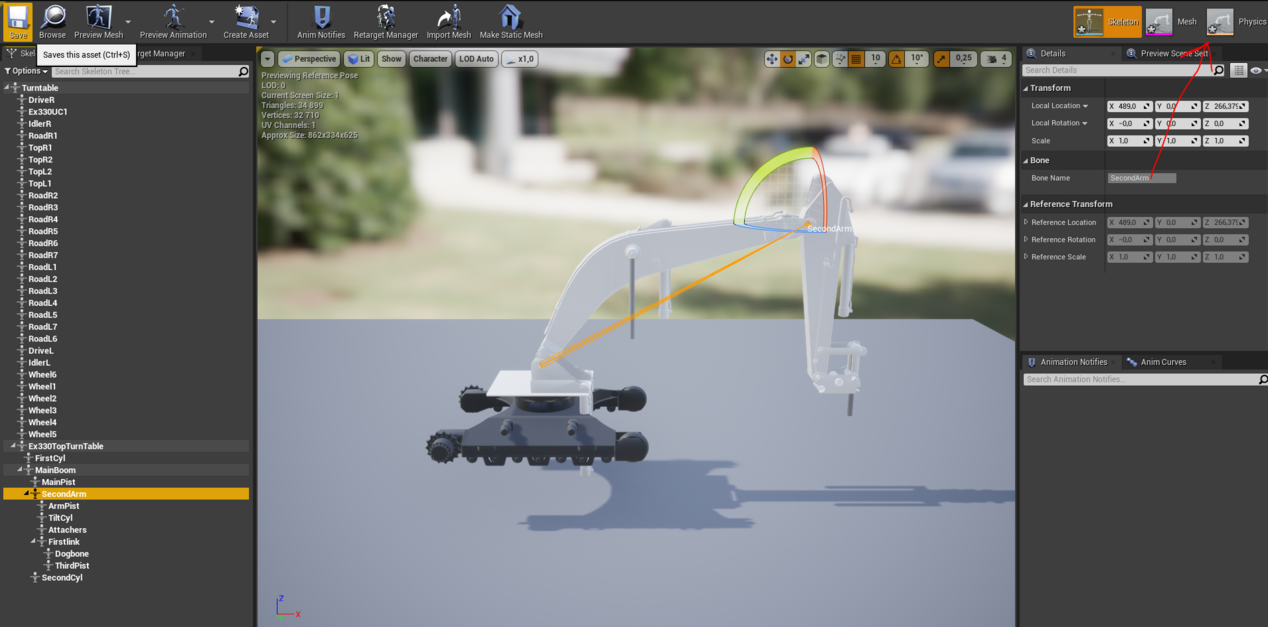
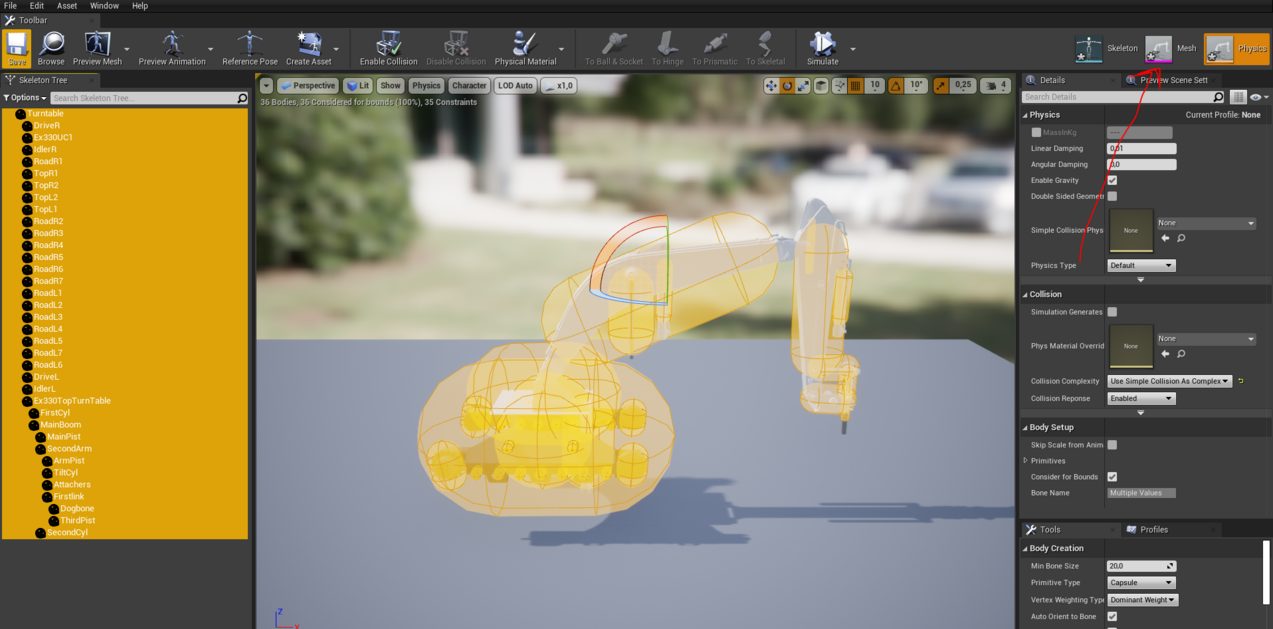
Skeletal Mesh (Rigged)
Creating the Mod
Open the BergsbrukModding project
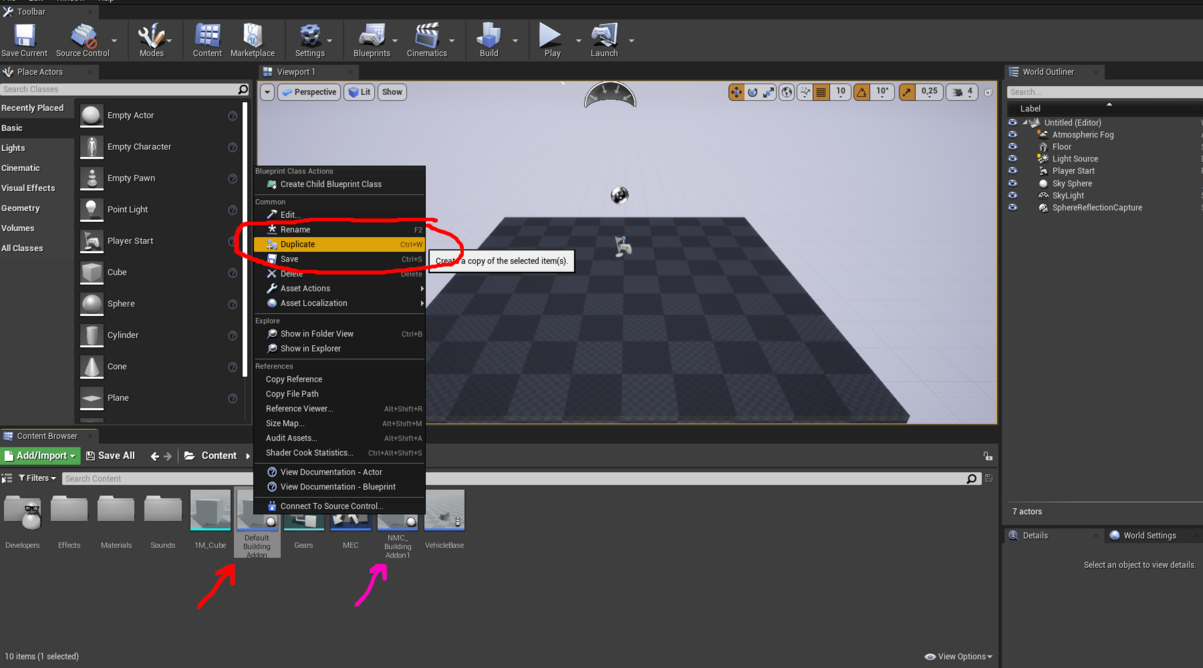
Find the Template or Example object closest to the thing you want to add (we will add those as we go along)
Duplicate that object and name it something like "MyModteam_BrandedDozer_Model666"
Otherwise the game might get a bit annoyed finding 7 vehicles named "Dozer"
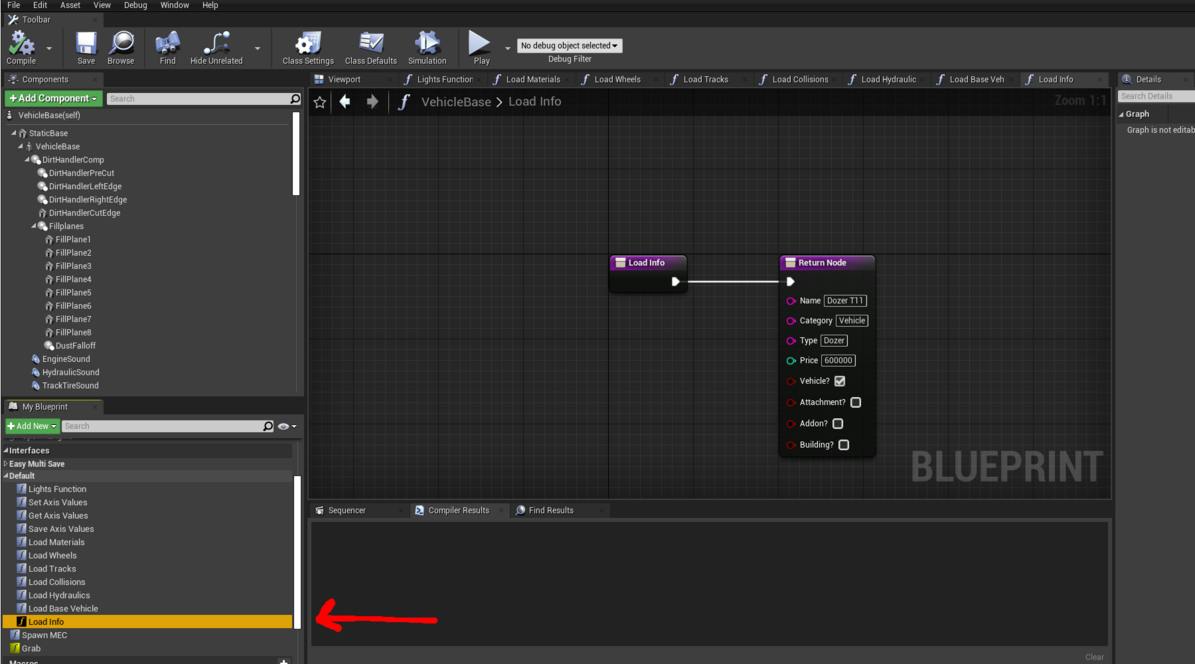
Categories
- Vehicle
- Tool
- Building
- Part
- Misc
Types
- Dozer
- Excavator
- Loader
- Semitruck
- Pickuptruck
- Grader
- Crusher
- Dumper
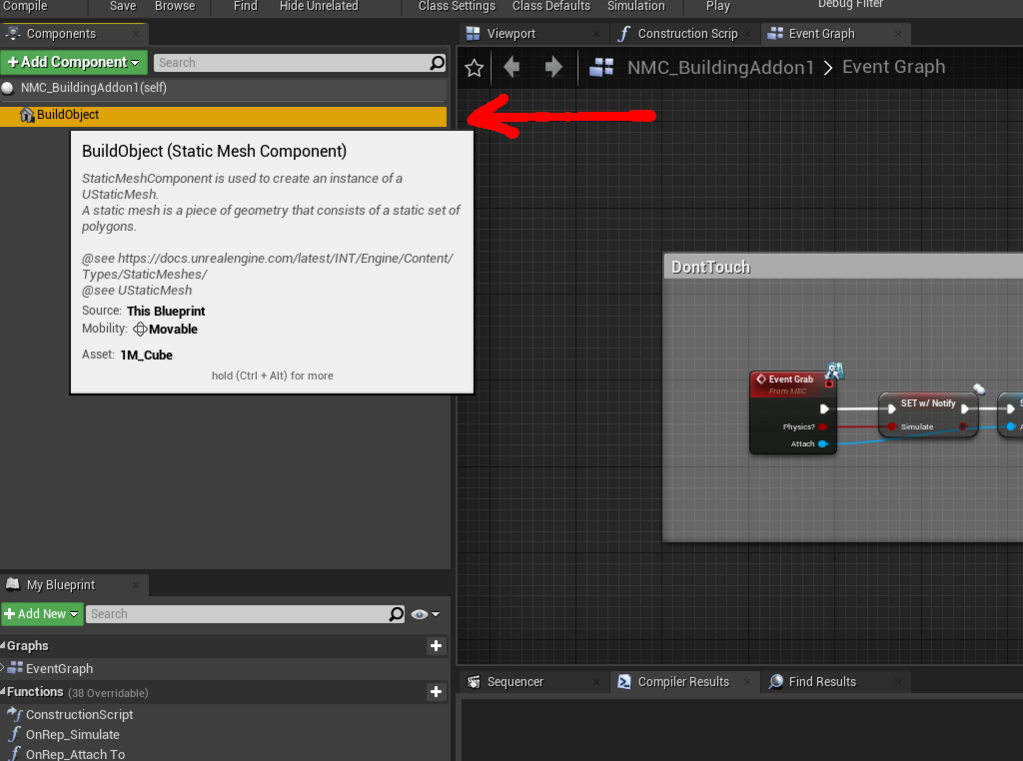
Building object
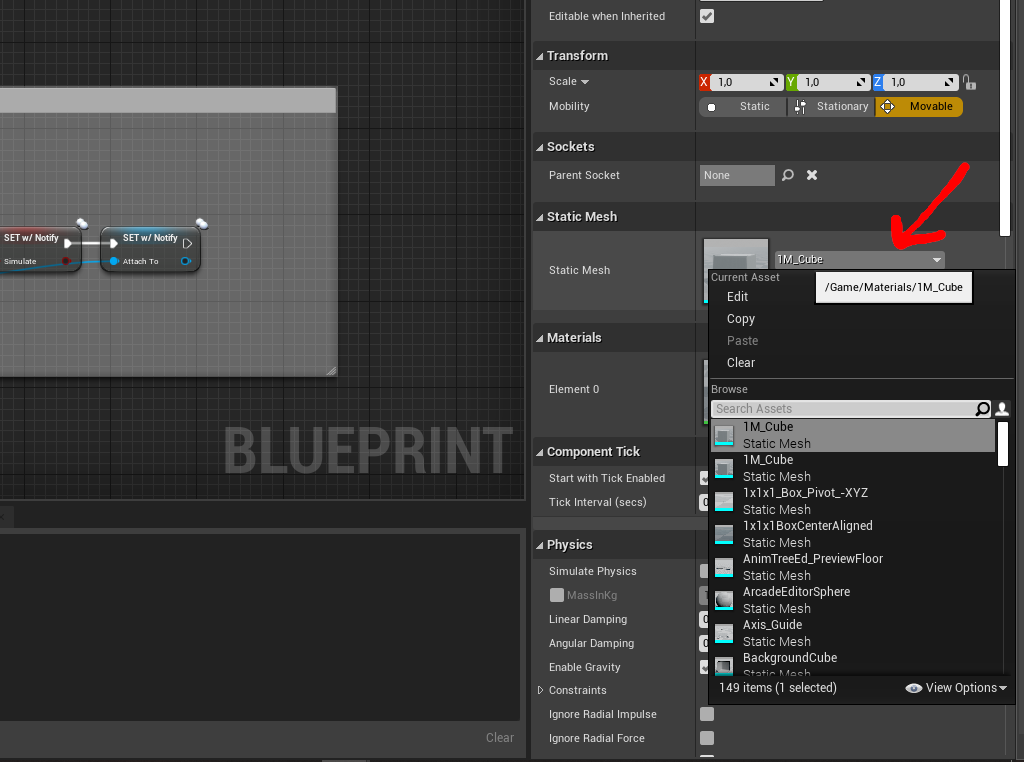
In this you can add any static mesh you can think of or build,
you can also add in any effects or stuff as children to the "Build object" but always turn off collsions and never add any Collsions
Vehicle
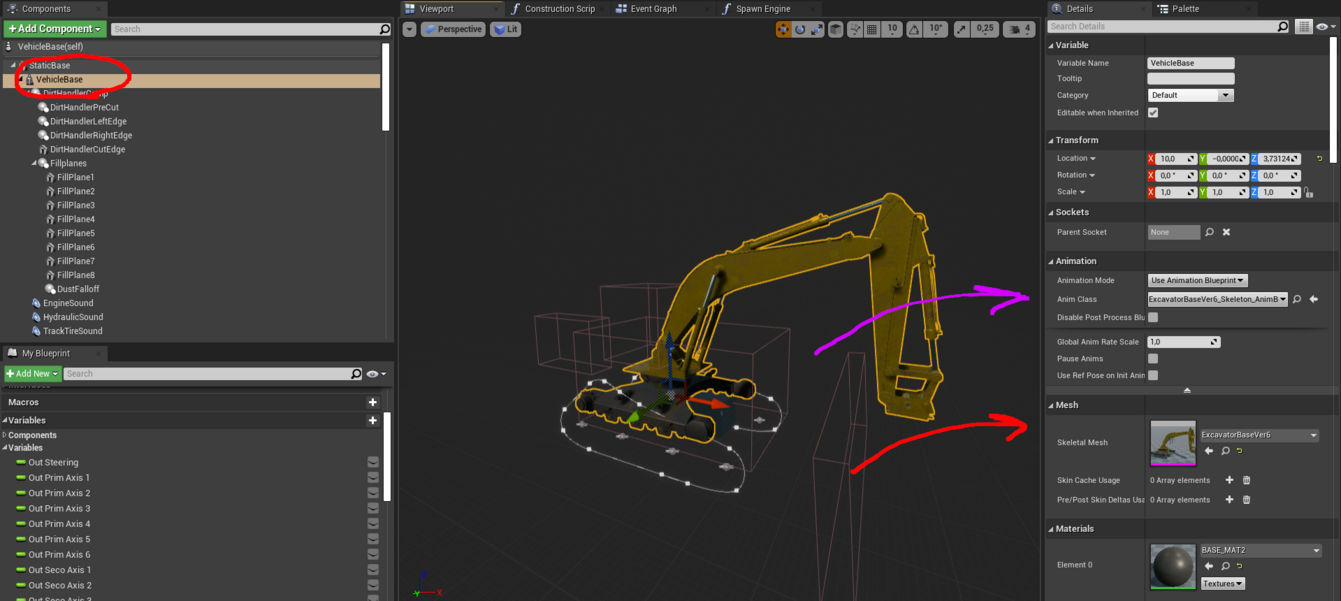
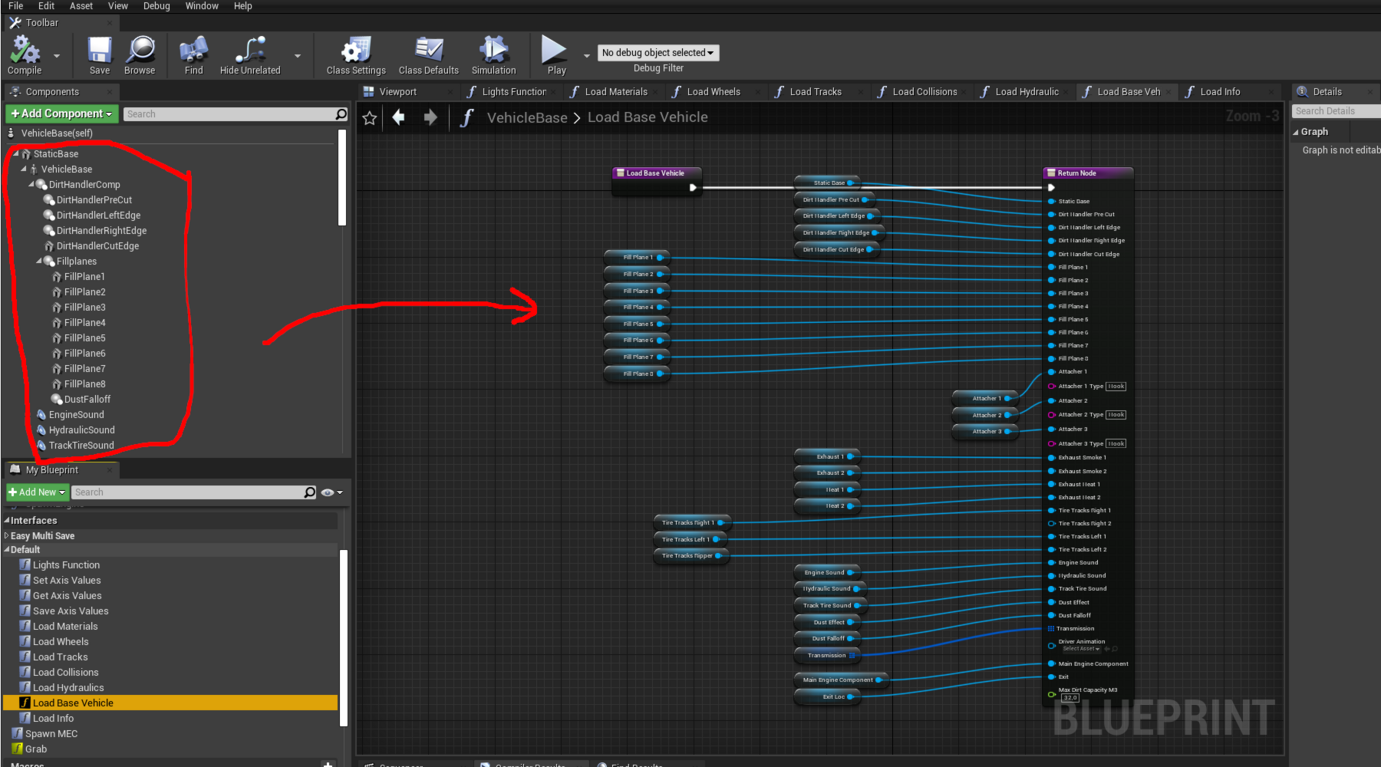
Swap out the Vehicle base to your own skeletal mesh or keep it empty if the vehicle has no Skeletal mesh
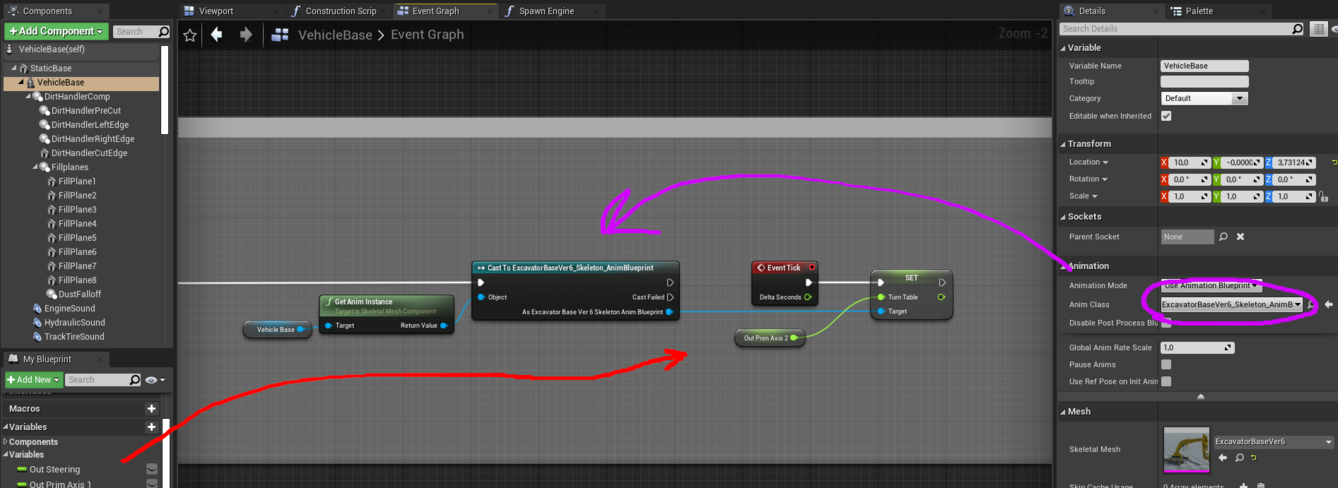
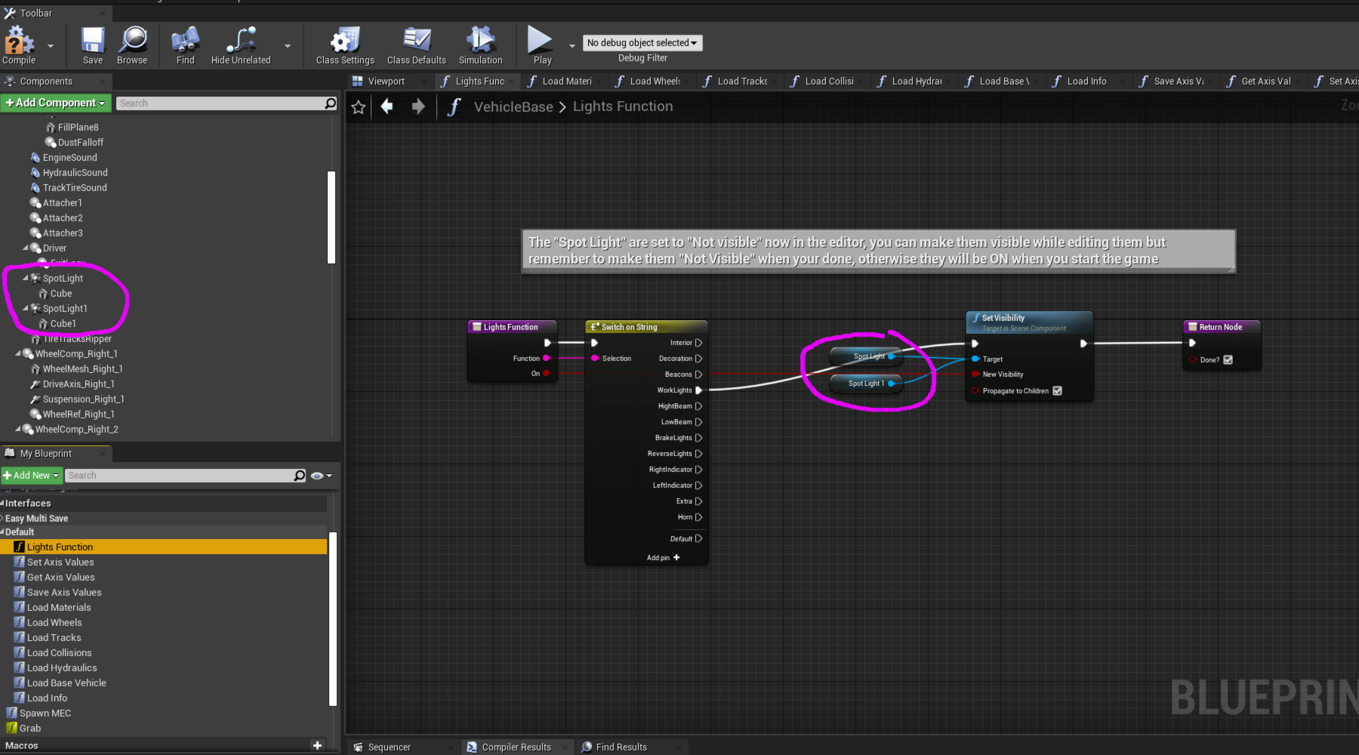
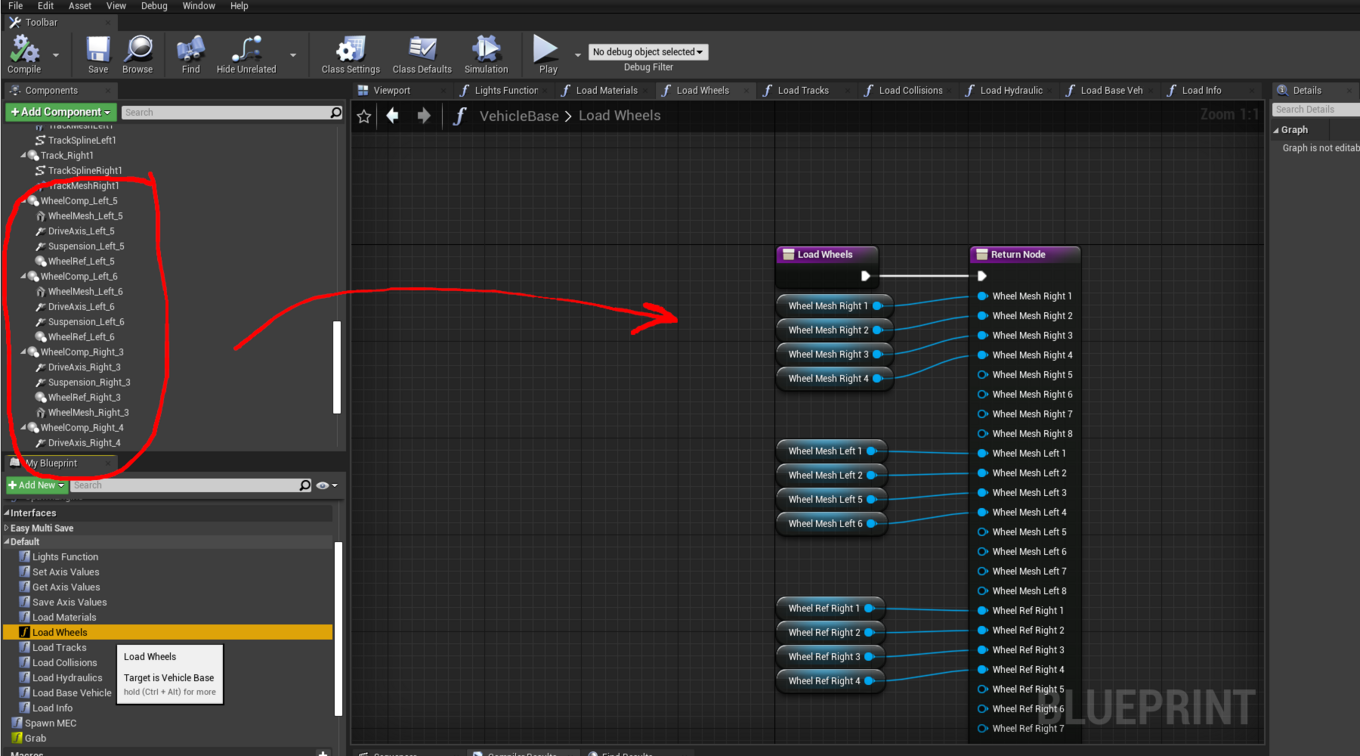
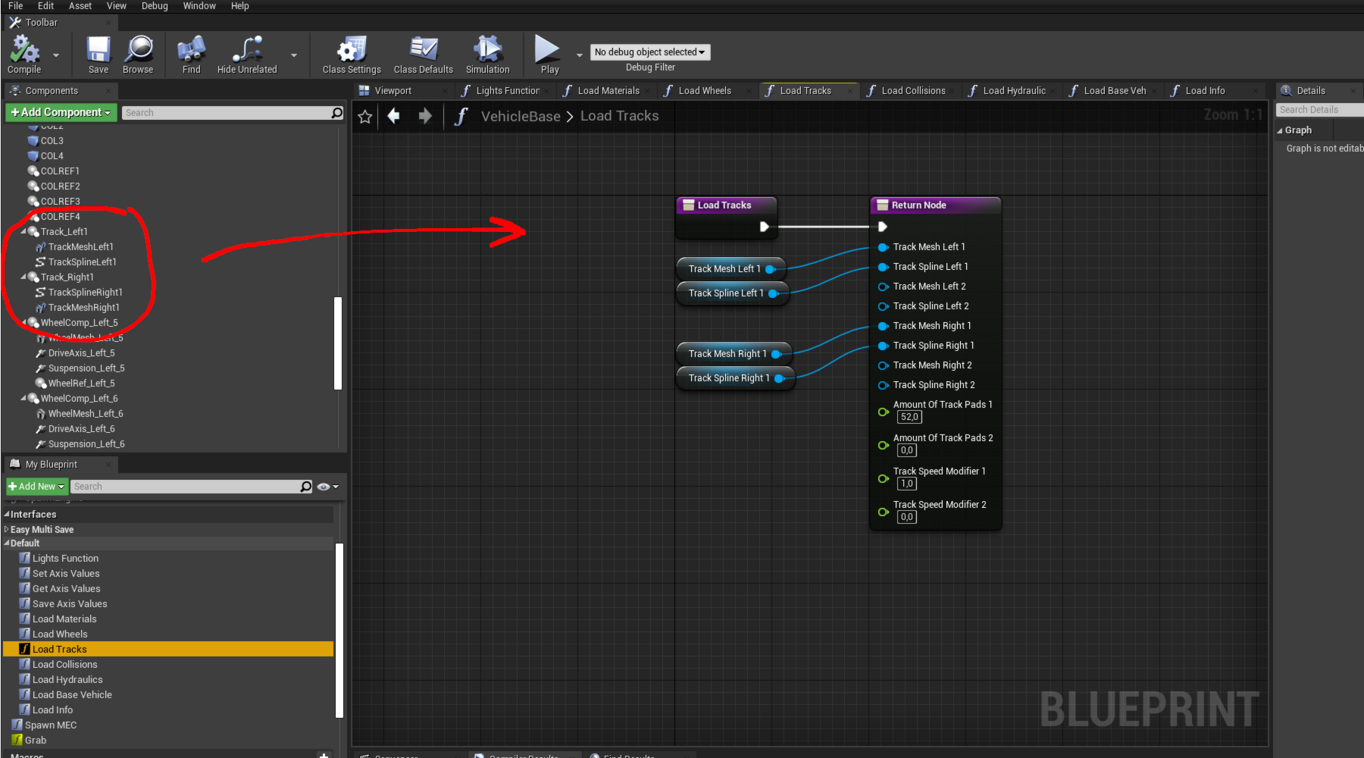
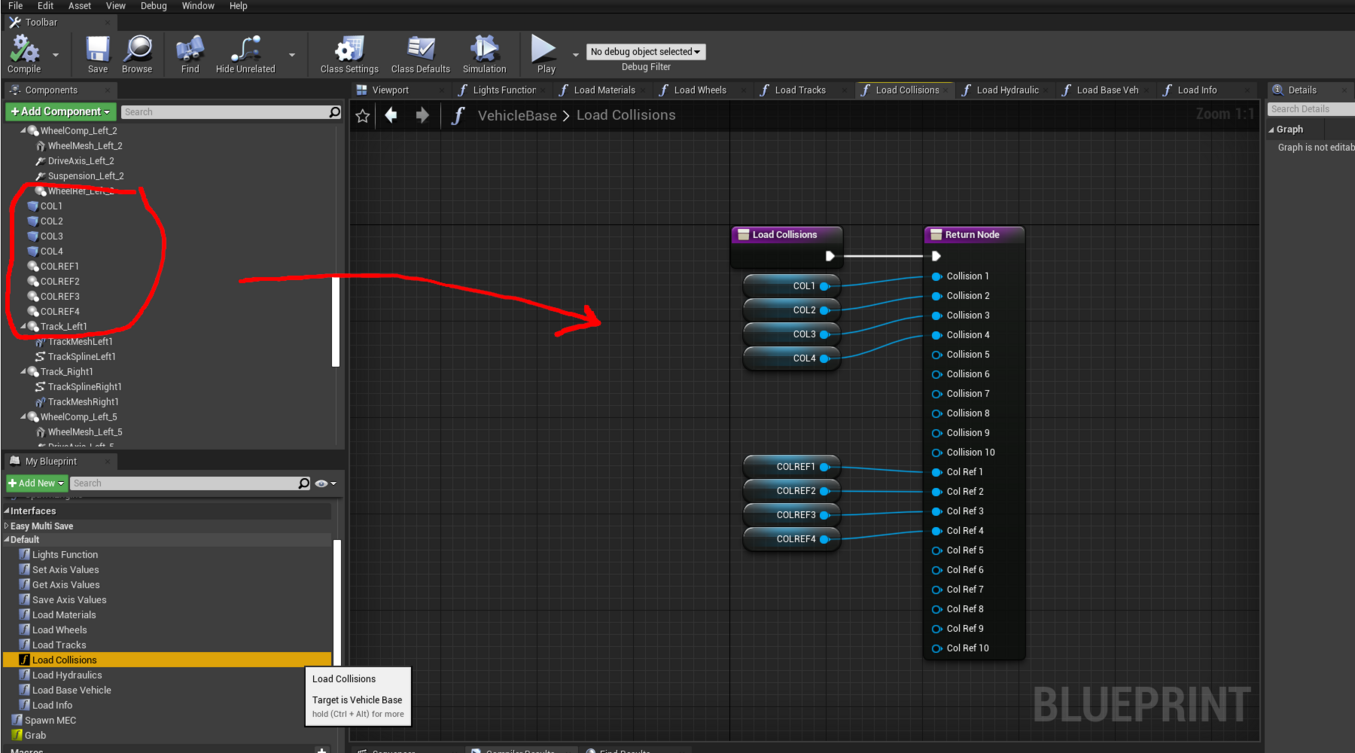
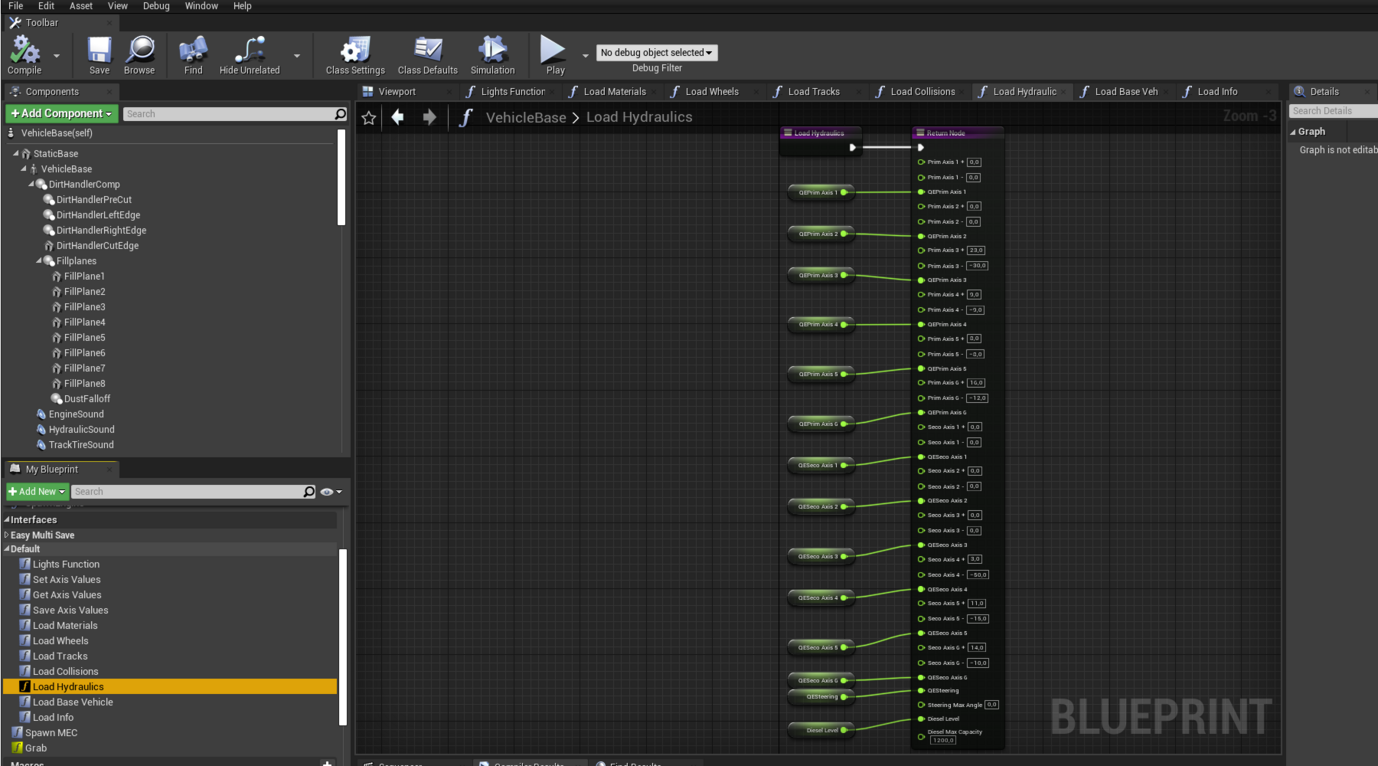
These are the other infaces that need editing and are vehicle specific
Vehicle Addon
Coming soon
Vehicle Attachment
Coming soon
Exporting & Uploading
Coming soon
Other Tutorials
If your new to blender we recomend watching this series to learn blender:
- Blender Beginner Tutorial - Part 1: https://www.youtube.com/watch?v=TPrnSACiTJ4
- Blender Beginner Tutorial - Part 2: https://www.youtube.com/watch?v=RaT-uG5wgUw&t=2s
- Blender Beginner Tutorial - Part 3: https://www.youtube.com/watch?v=R2qjqqfkH6E
- Blender Beginner Tutorial - Part 4: https://www.youtube.com/watch?v=jmSgsaNSQ6s
- Blender Beginner Tutorial - Part 5: https://www.youtube.com/watch?v=6OTX3ZdYvEA
- Blender Beginner Tutorial - Part 6: https://www.youtube.com/watch?v=ZTxBrjN1ugA
- Blender Beginner Tutorial - Part 7: https://www.youtube.com/watch?v=5lr8QnR5WWU
Texturing in Blender
- Blender UV Mapping Tutorial: https://www.youtube.com/watch?v=XeBUfMKKZDo
- Blender Surface Texture Painting - Part 1: https://www.youtube.com/watch?v=GxUsg4x3iz8
- Blender Surface Texture Painting - Part 2: https://www.youtube.com/watch?v=4ibLLmoh3oY
- Blender Surface Texture Painting - Part 3: https://www.youtube.com/watch?v=hEH8TsGM78o
- Blender Surface Texture Painting - Part 4: https://www.youtube.com/watch?v=XJ__9yH5IPc
Fixing import issues Unreal
- Unreal Engine 4.27 Scale & Normals: https://www.youtube.com/watch?v=hDeT9tzBYTs
